Blog
Hand Painted Signs For Christmas
Hand Painted Signs For Christmas
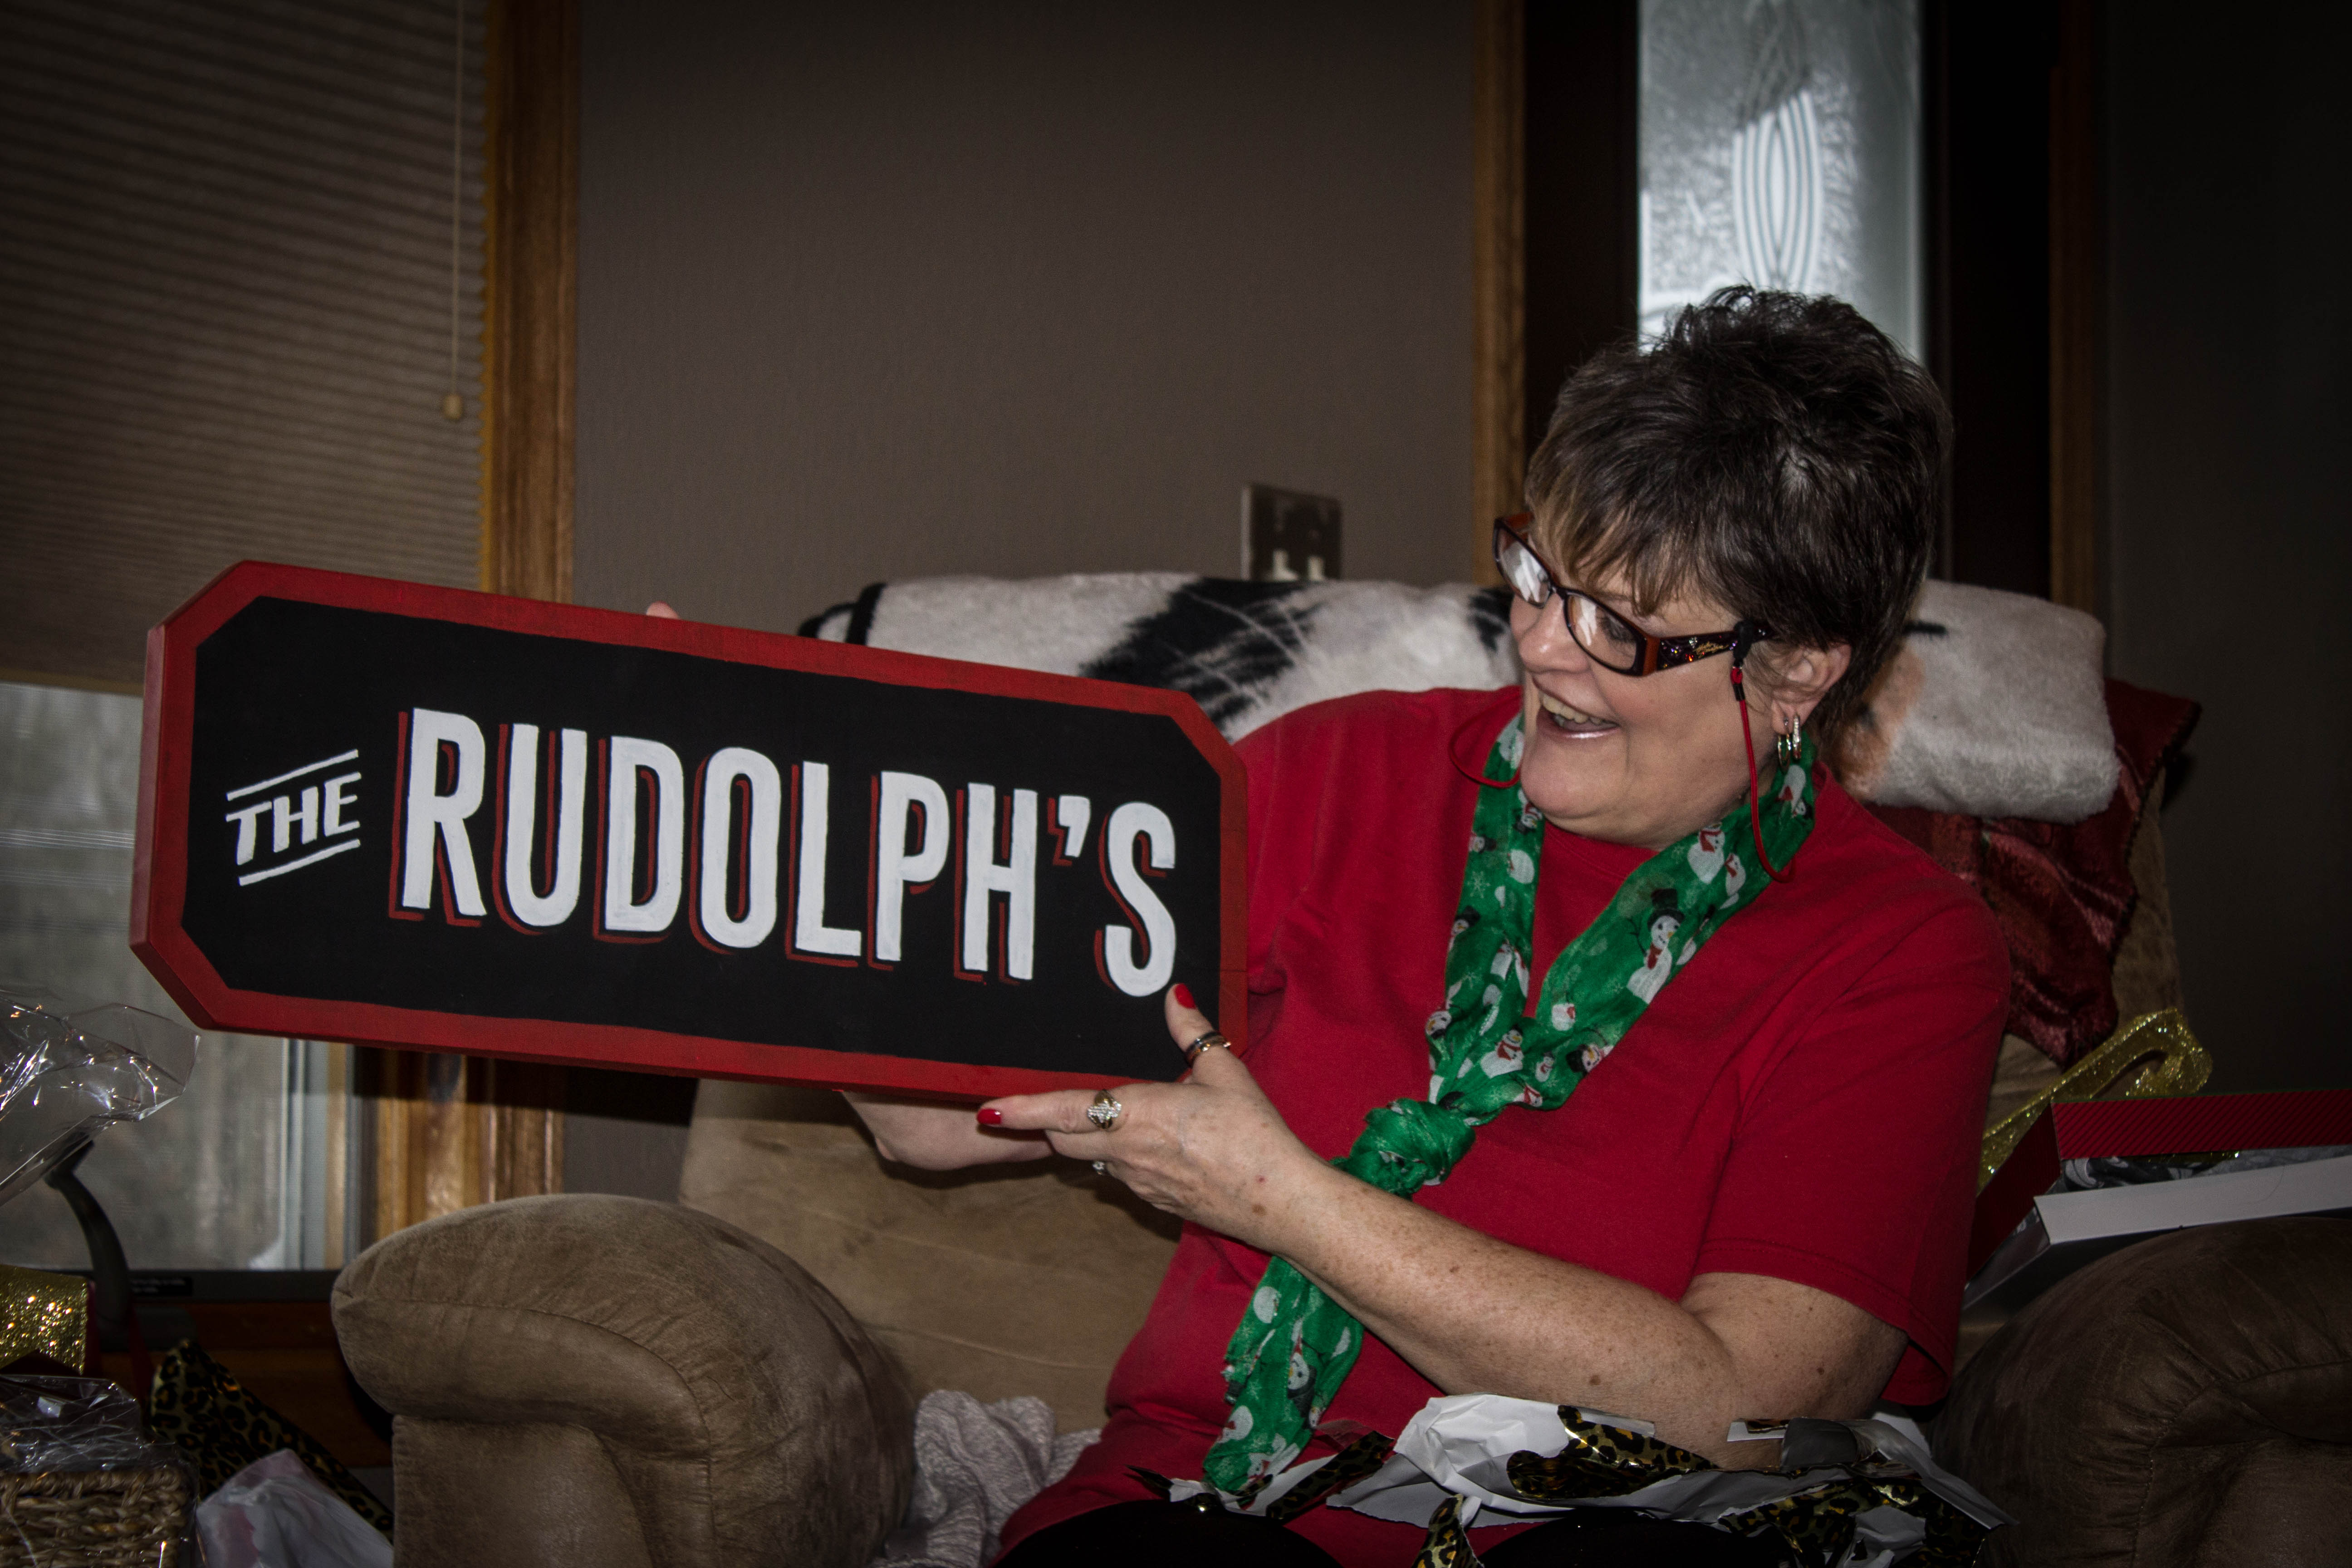
A lot of family members and friends have asked me to make them some custom signs to hang in their homes. I figured these would make really good Christmas presents.
My dad had a large cherry board that he cut up to make the beginning shape of the signs. he cut off the corners to give them another design element. He then sanded all of them off so I could have a nice surface to paint on.
I used acrylic paint on all of them, and used rulers along with very precise painting to make all of the typography straight.
Each one took about 4 hours to created in total, and everyone loved them.
CraftsHand Painted SignsAutumn Crafting
Autumn Crafting
What better way to start of the season than to make some kick-ass fall decor? Decorations don’t have to be cheesy, all you need is a good color palette and some fancy accent pieces. We created 5 different projects for this session, and all the pieces were purchased from Walmart.
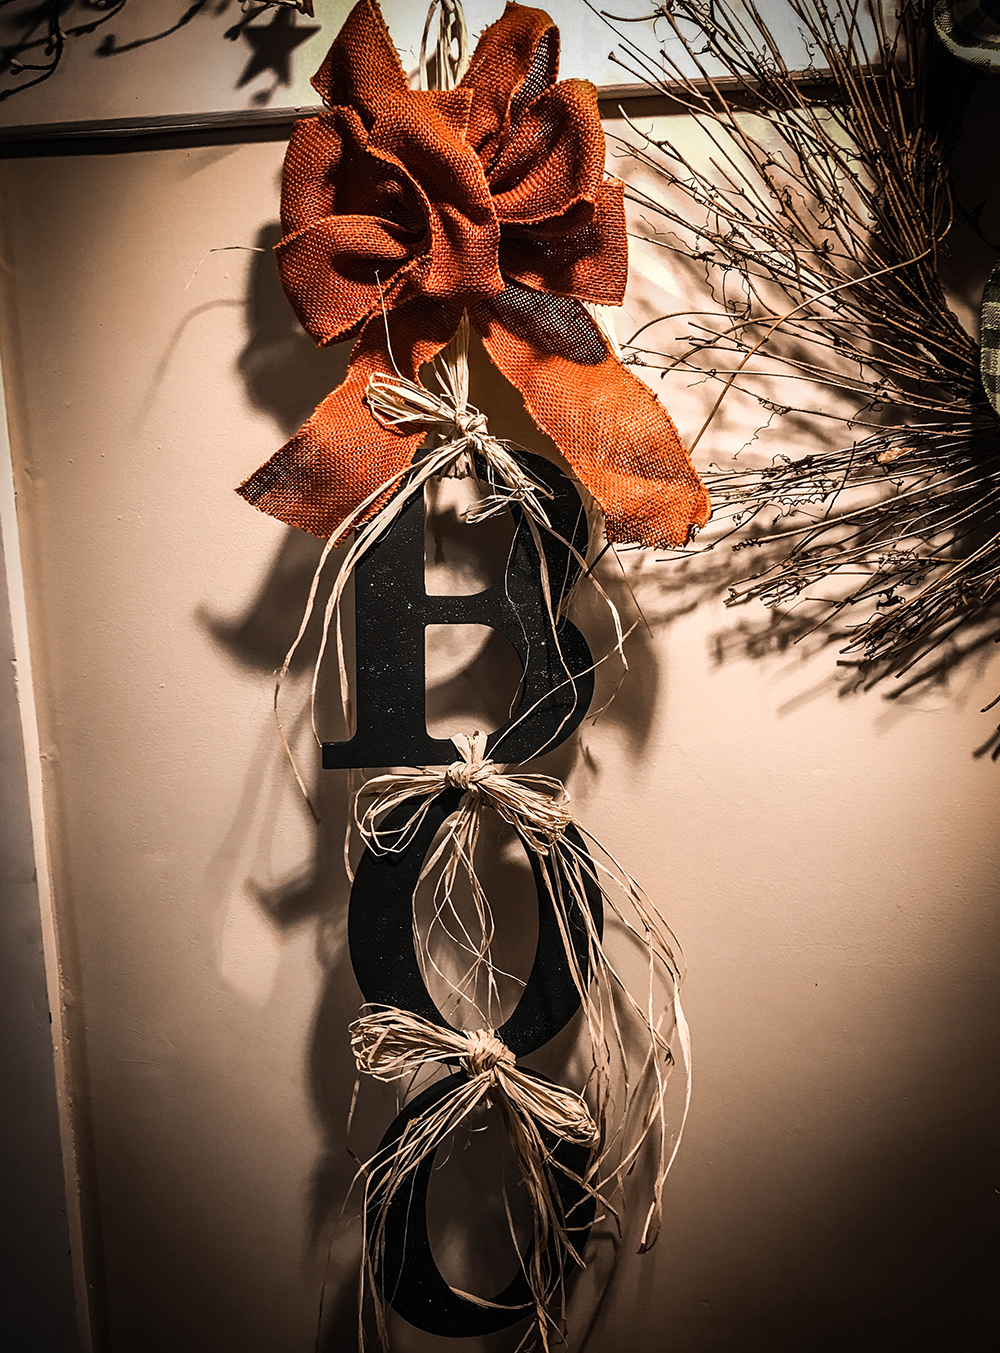
‘Boo’ Door Hanger
Picture #4 was the finished product. This project was easy and pretty inexpensive, I spent no more than $10 on this one alone.
For this project I purchased;
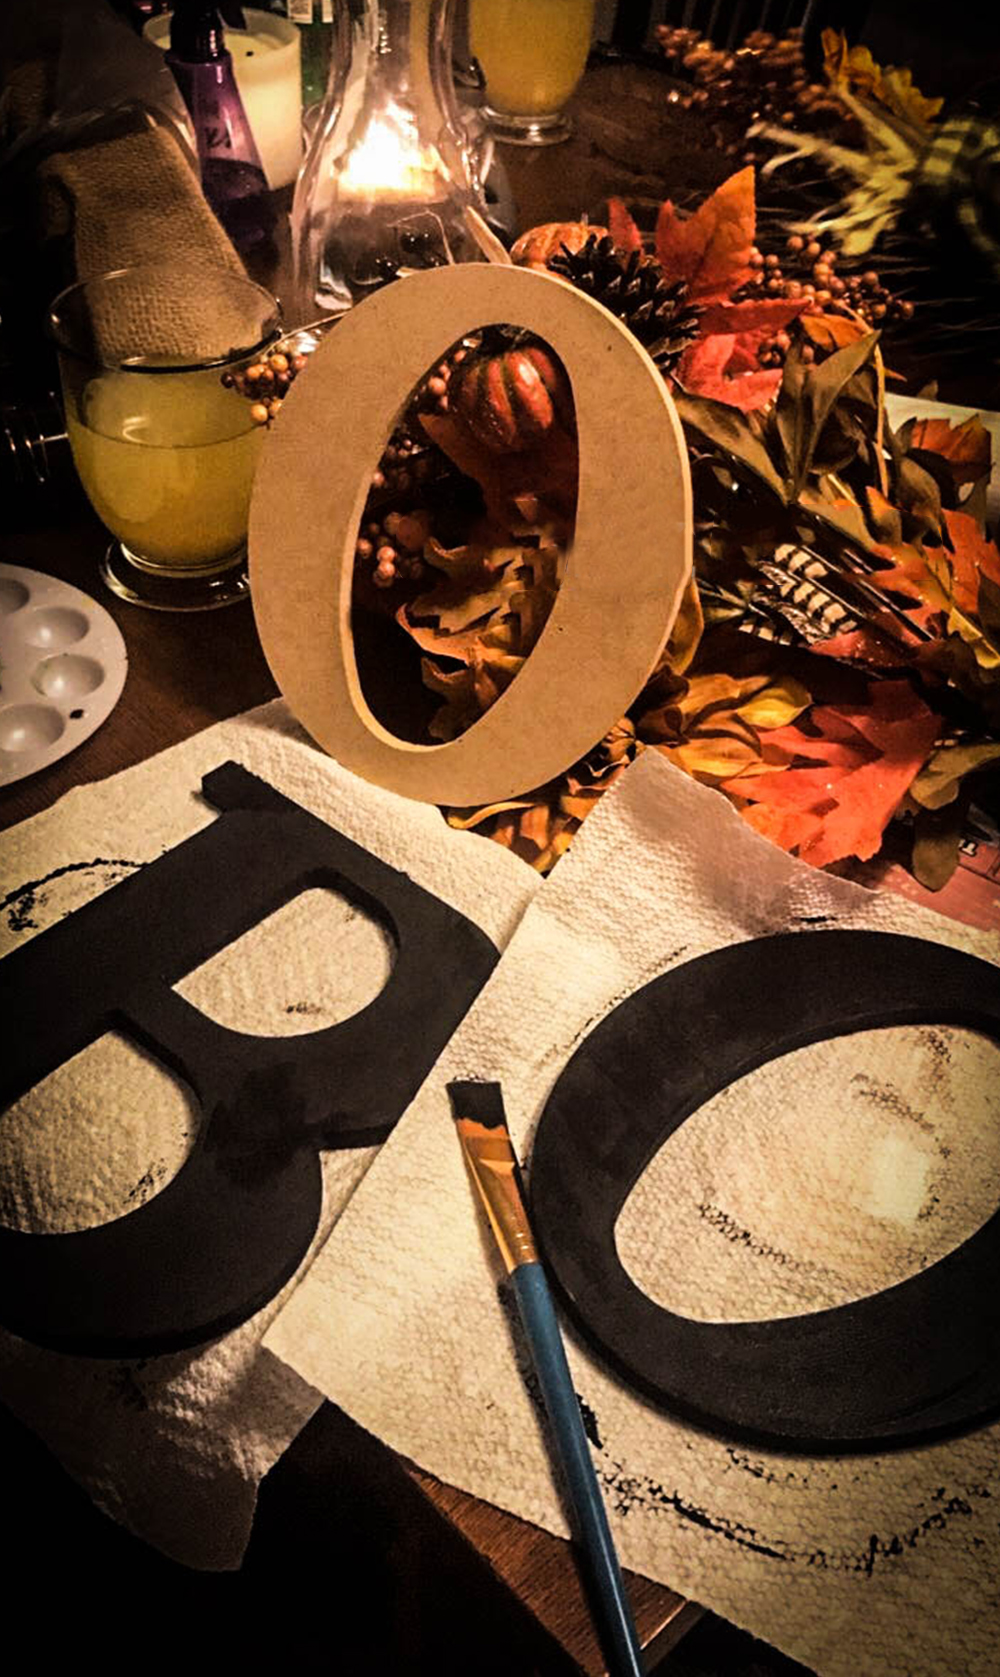
- The wooden letters B, O, and O (from the craft section)
- Matte Black acrylic paint (also from the craft section)
- An orange bow for the top of the piece (you can get any bow you want, it doesn’t have to be orange)
- The straw to tie it all together (located with the flower vases)
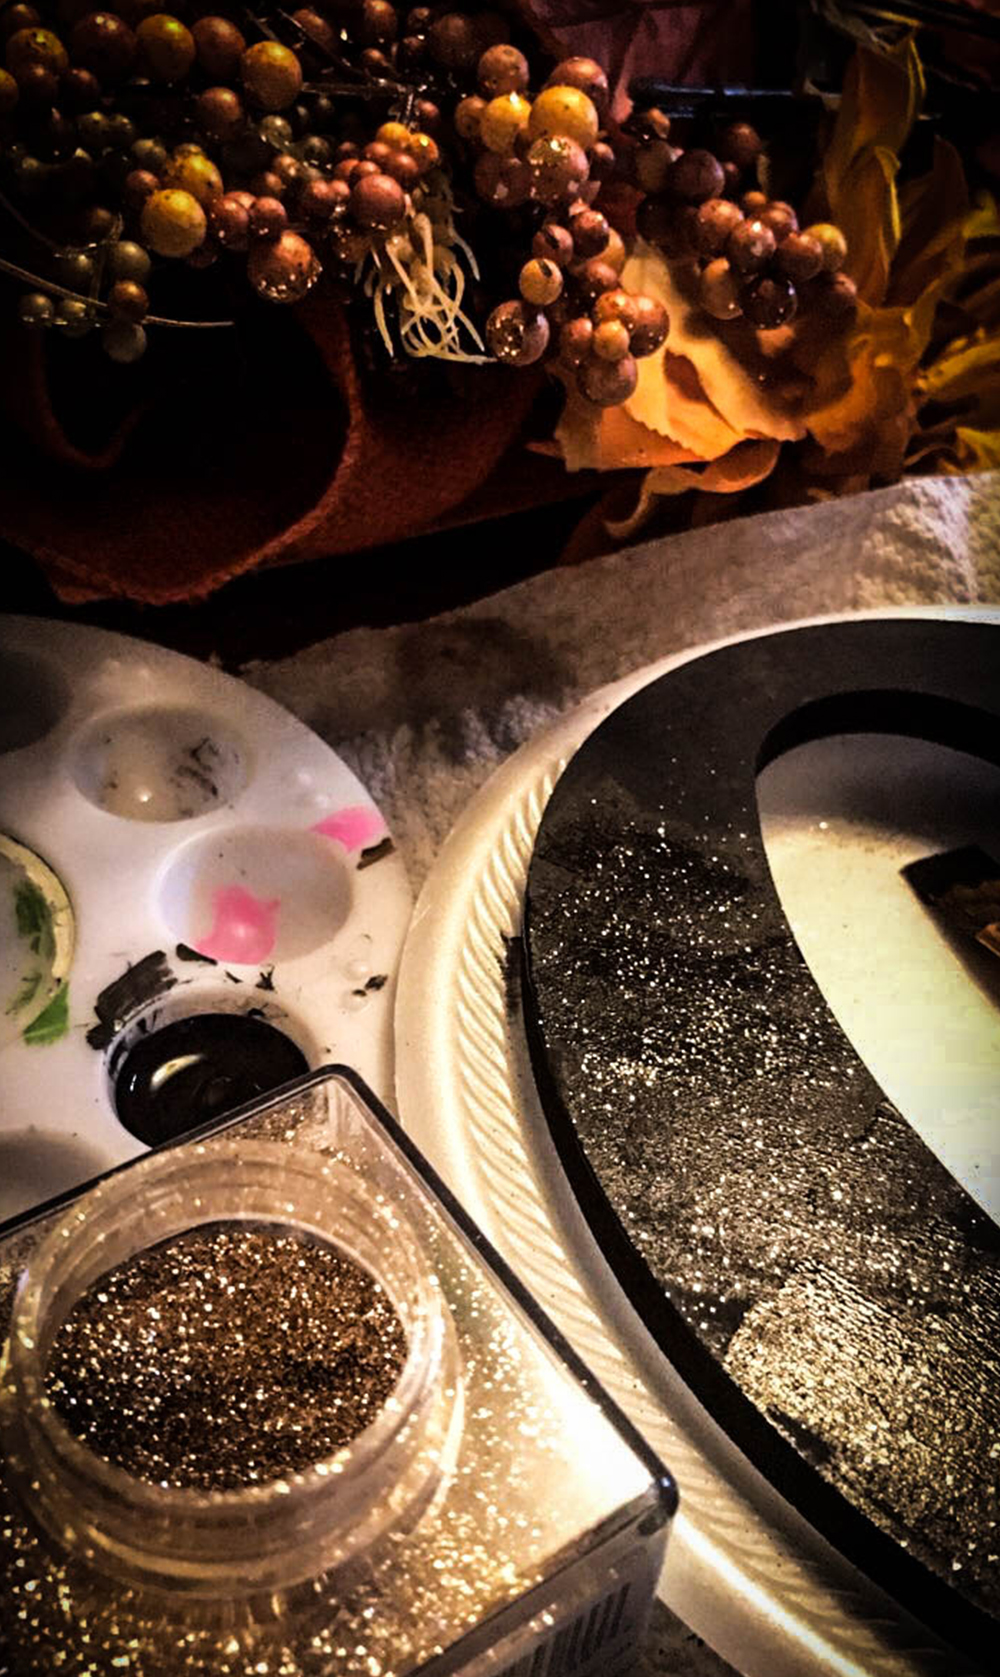
- Glitter on the letters are optional, but I kind of like the little extra sparkle
I painted all of the letters front and back with the matte black, and while the paint was still wet I added a dash of gold glitter to each one. Starting with the bow, i tied each letter one by one together using the straw while creating a bow between each of them. Every person has their own style of doing things, so each one may be a little different just like the fall leaves!
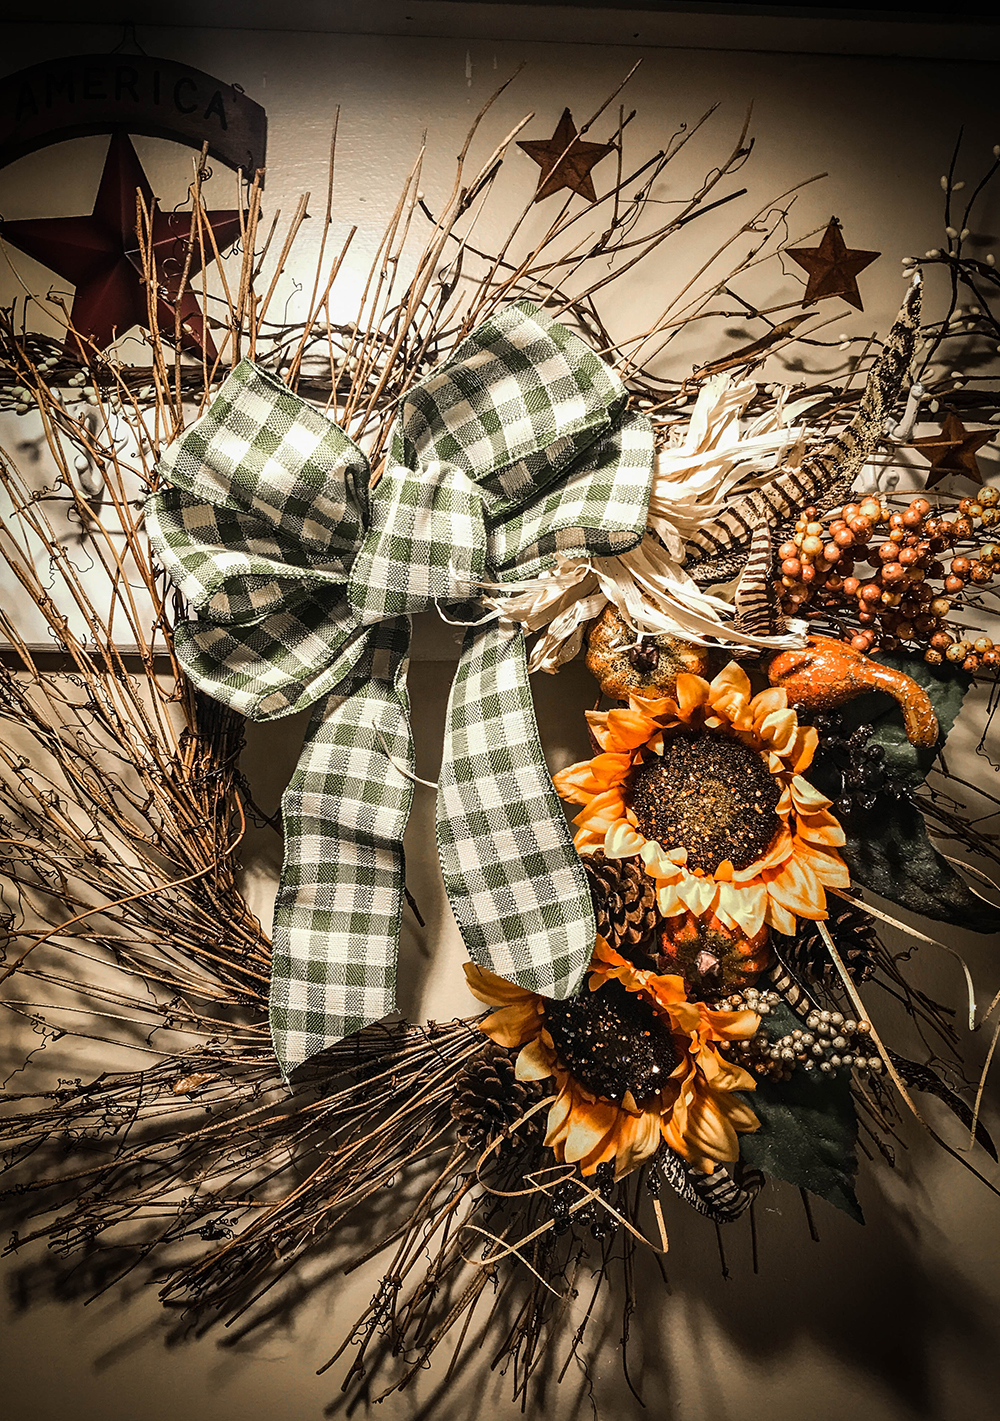
Sunflower Wreath
Picture #5 was the finished product. My best friend actually made this one, and it looks amazing on her door!
For this piece she purchased;
- A blank wreath
- Two fake sunflowers with glitter
- A small bouquet of fake flowers and pieces for on the wreath
- A bow (Once again, any bow will work)
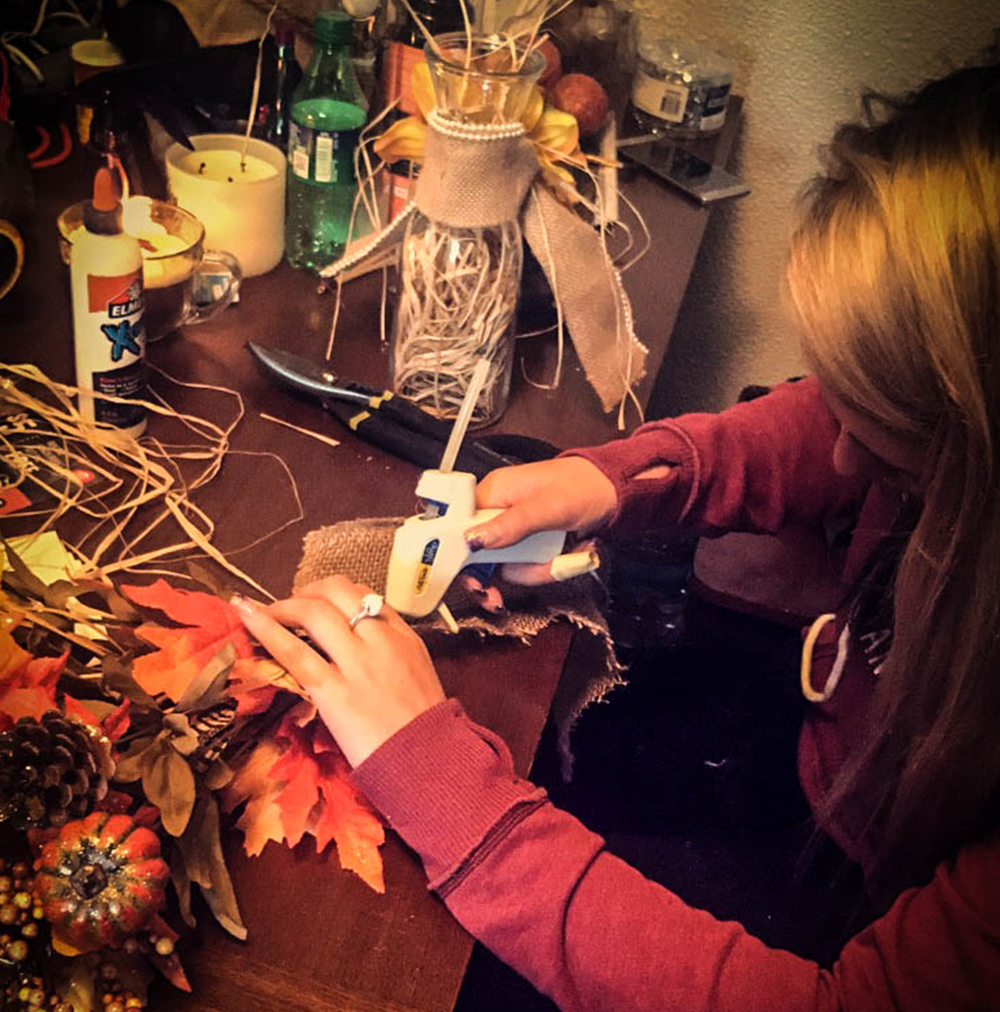
She added the bow first on the top using a hot glue gun to stick it to the wreath. Then she added the sunflowers as well as the feathers and other pieces from the flower bouquet.
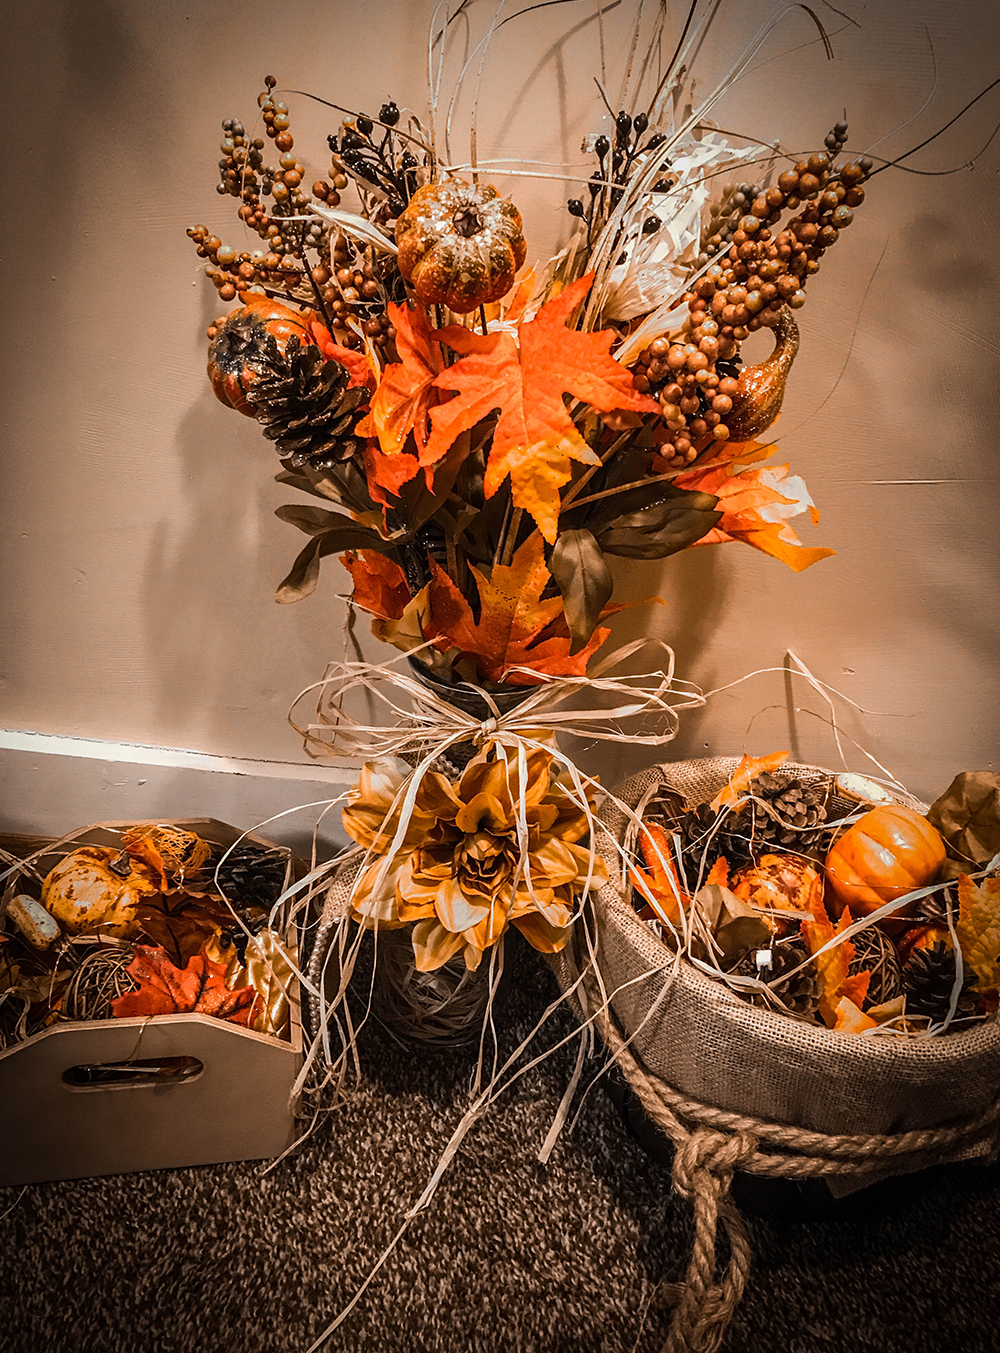
Various Fall Centerpieces
Picture #6 was the finished product. This includes 3 different pieces with a mixture of different autumn objects.
For these we purchased:
- A small crate
- A basket
- A glass milk jug
- Multiple packs of small fake pumpkins, gourds, pinecones, and leaves
- Straw
- Fake orange flower
- Orange battery powered LED lights
- Fake flower bouquet
The first small crate on the left is filled with gourds, pumpkins, pinecones leaves, and the LED lights throughout it to top it off. The piece on the right is very similar to the one on the left except using a basket. For the middle, we used the milk jug and wrapped some burlap around it. We found a really pretty fake bouquet to put in it and tied the straw in a bow around the neck of the bottle. The finishing touch was the orange flower on the front.
These were all really fun, inexpensive, and super easy to make. They are the perfect way to start off the fall season right!
Crafts
